
Quick Neck Pillow Cover

When I brought home my latest fabric finds, Mr. SD thought the John Deere flannel fabric would make a great cover for his neck pillow.  So... here is how I made it in about half an hour.


I took measurements of the pillow {making sure to write them down, my memory tends to be poor with numbers, LOL!}:


Then I cut the fabric from selvage to selvage:

I rolled both selvage edges over twice {edge is inside the stitched sides}:


I wrapped the length of fabric around the neck pillow.  Here is where I should have cut of five or six inches and rerolled the edge to finish.  Hindsight is always 20/20.  So... here is my tip, make sure your opening overlap is only three or four inches.  Otherwise, you will have one heck of a time getting your pillow inside the case.


A picture of the western themed pillow and the case.

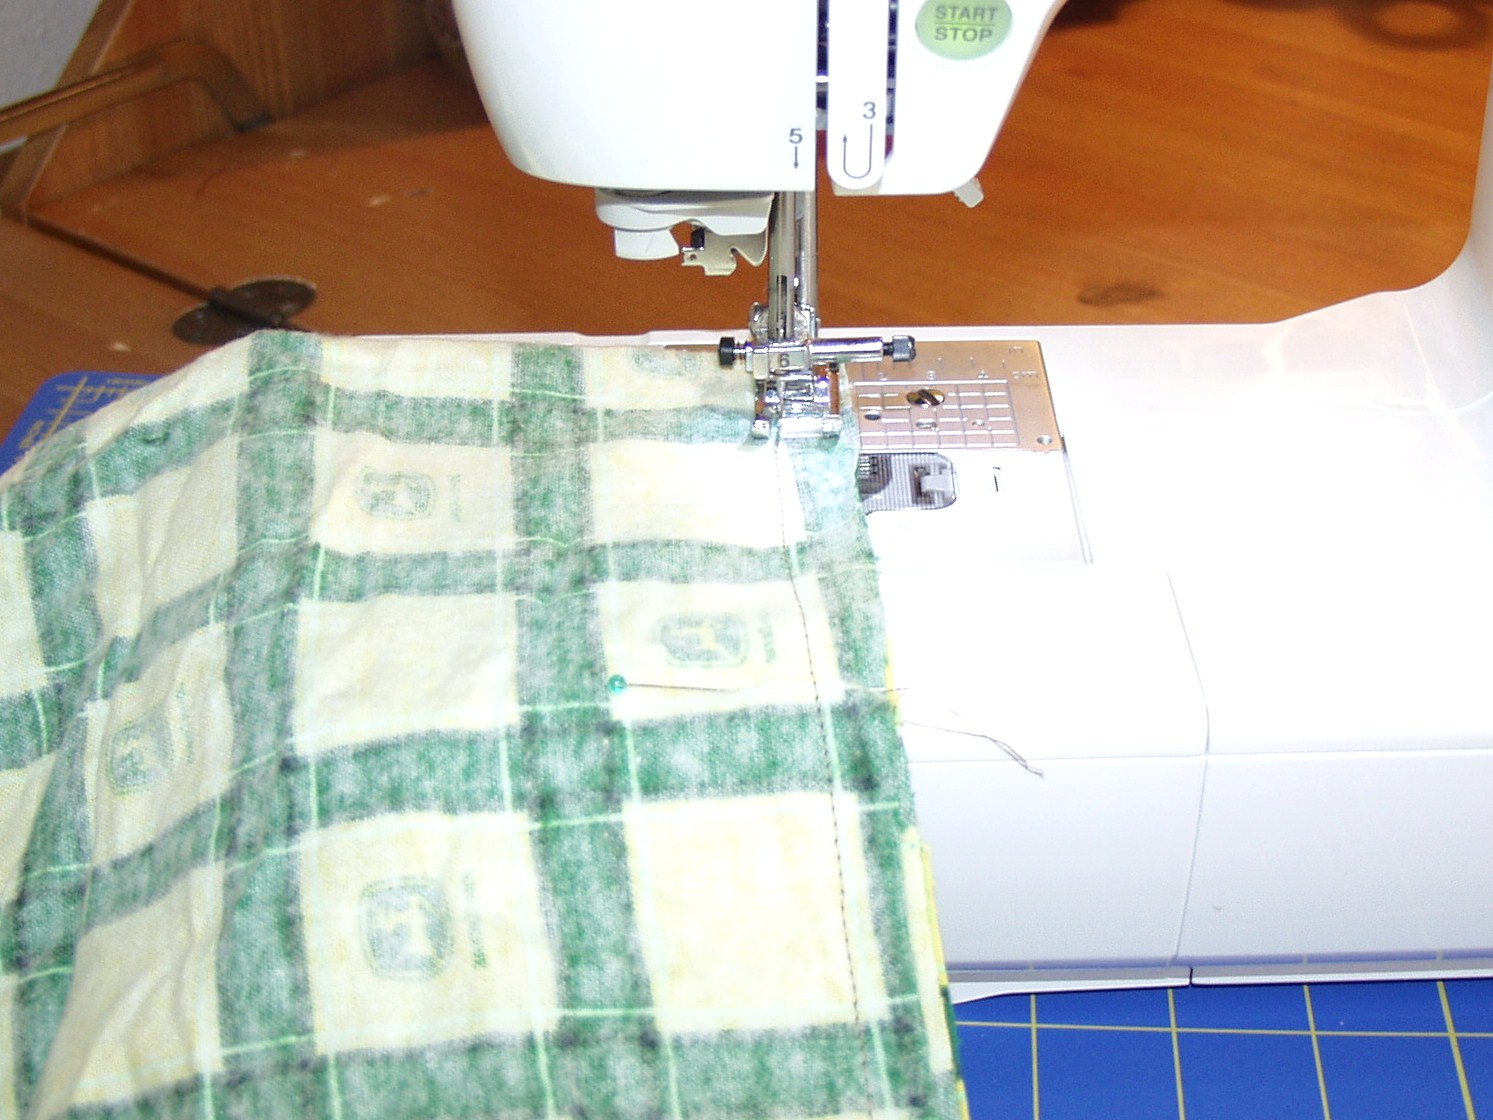
When stitching the two long seams, start one inch away from the fabric fold, stitch to the reinforcing stitches and then proceed to the edge of the fold.  Flip the pillow case and stitch to the other end, flip the pillow again, stitch back one inch then do your reinforcing stitches.  This helps to keep your corners from coming out due to stress placed at the end of the stitching.

{Starting about one inch from the fold.}

{Get to the end and flip, and stitch back.}

{stitching back one inch before running the reinforcing stitch sequence.}

As I said this was just a quick project.  I did not get my iron out, just held the edges straight and flat as I stitched.


{here is another picture of flipping at the end of the stitching}


Ms. Diva was a ham for the camera as usual.  Here are a couple shots of the clown.

Comments

  1. First I have to comment on the cutie! =) Love her jammies!

    Great pillow tutorial...nice, easy and practical! Thanks!

    ReplyDelete
  2. Ohhh my goodness, she is adorable! Love the neck pillow. Might be the perfect present for some of my friends who are always traveling.

    ReplyDelete

Post a Comment

Thank you for taking the time to read this post. I love reading your comments, and enjoy returning the favor {even if it takes me a while to return it, LOL!}.

Popular posts from this blog

Pretty in Pink and Some Sparkles too!

A hat for my oldest in ballet pink (red heart yarn she picked) with some silver beads.  No pattern, and ended up running elastic thread through a couple rows to make it more secure on her head for now, until she grows into it some more. Matches a shoulder shrug knitted for her during her year of ballet lessons.

Lucky Leprechaun Giveaway Hop 2011

This Giveaway is closed: Winner announced 3/21/2011 The Lucky Leprechaun Giveaway Hop starts March 17th and ends on March 20th {Sunday}.  Enter over 200 giveaways by checking out the linky list below.  Wow! Over 200 things you can enter! The Spunky Diva is giving away a copy of each of the following books: {these are copies I received to review, so they have been read through once}   City on Our Knees by Toby Mac     My review.     See my review here. TO ENTER: (open to residents of the US and Canada) 1)  Leave a comment (make sure you leave contact e-mail) 2) Optional Entry: Follow through Google Friend Connect (GFC) and leave a 2nd comment. That's it!  Now leave your comments and go do some giveaway hopping!  I look forward to visiting you back ~

Add a ‘click-able’ signature to comments you make.

While blog hopping recently, I came across this fantastic tip listed on Be Our Best .  Jill has compiled her Top 10 Blogging Tips in one place to help others out there in blogland.  Most of them I had heard of before.  But she had one on her list that I have only seen a couple times in practice, and have not heard a how-to do it before. Number 6: Add a clickable signature to your comments. If you add the following text to the bottom of the comments you leave for other bloggers, whatever text you insert for “Your Text Here” will be clickable.  You have to switch out “{“ and “}” with “<” and “>” then it will work.  Remember to also change the “Your Blog Address” part, LOL! {a href=http://www.YourBlogAddress.com/ }YOUR TEXT HERE {/a} Bonus Tip ~ I use Notepad to store all the html codes I use on a regular basis {the direct link code for my signature image, color codes, etc.}.  I added the above code to my Notepad page, edited it with my information, and saved it.  Now all I